
Grand-Caravan Glamping in Style
Grand-Caravan Glamping in Style started with Building a bed in a Grand Caravan. It’s one step closer to mellow, nomadic adventures and #minivanlife for me.
I returned to Louisville, Kentucky on March 8, 2020, and the next day the whole country went into its first lockdown/quarantine period.


After a couple of weeks, I learned that my next couple of jobs were being pushed to 2021!!!
And receiving approved benefits has proven difficult as the system is very old.
Meanwhile, Back at the Ranch…
I started with a no-build approach (v 1.0) and used a hammock, a couple of totes, and my cooler. And this worked.
On my recent trip to Red River Gorge (when I recorded this video!), I camped this way.

Yet it was missing something. For me, it was missing the ease of use and comfort.
Getting Started with Grand-Caravan Glamping in Style
I went with a single-person hammock. Maybe this is where I went wrong.
The night I tried it out, the temperature dropped to the upper 30° F. I had my sleeping bag and a fleece insert sleeping bag and it was difficult to maneuver around inside the hammock to get in a comfortable position.
That was okay, I just got into a comfortable position and fell asleep.
If it weren’t for that trip, I wouldn’t have decided I wanted to do a small build.
Thinking about my layout, I started with the bed.
Steps I Took to Grand-Caravan Glamping in Style
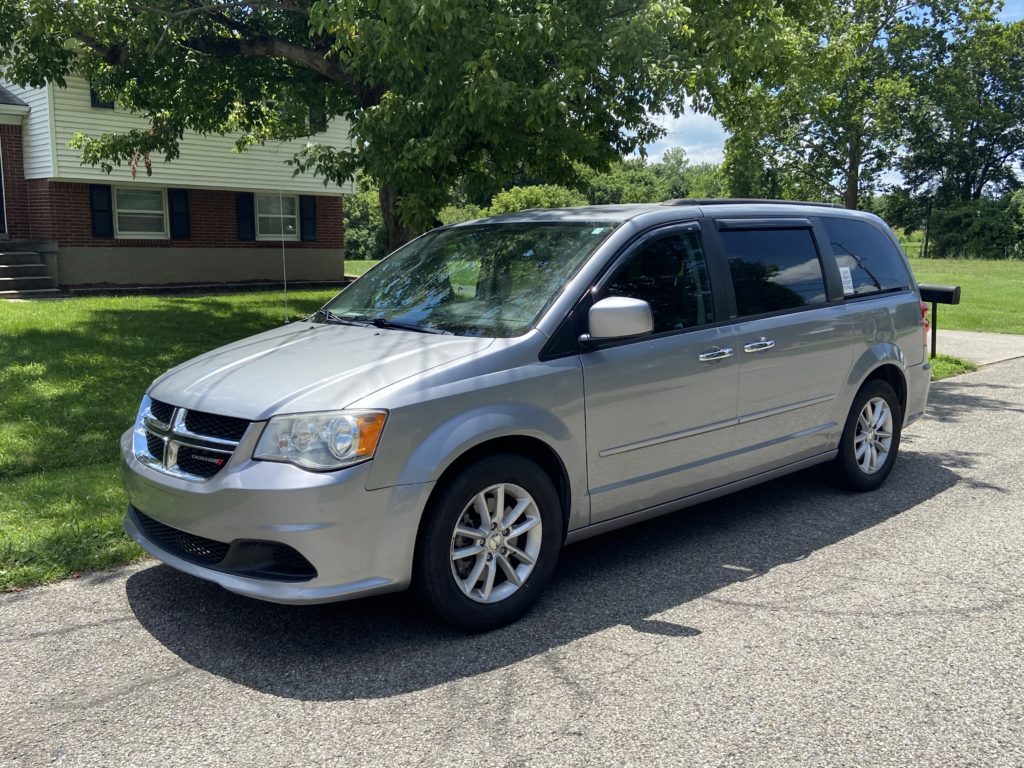
Step 1 – Measured the area of my empty grand caravan.
I removed all my “stuff” and folded the Stow ‘N Go seats into their storage spaces in the floor of the caravan.
For this step, I grabbed my tape measure, a pencil, and paper. I drew the basic shape of the van on the paper.
Next, I measured the width, length, and height of the cargo space.
Step 2 – Researched mattress types and sizes.
In the beginning, I wasn’t sure what bed design I wanted to do.
Then one day, I came across a video by Bob Wells of CheapRVLiving.com.
In one of his videos, he was building a bed in a Chrysler Town & Country. He mentioned this narrow twin-size, memory foam mattress. I followed up and found the link he provided in the description and researched more about that mattress.
I found that it has over 77k reviews on Amazon.com with an average of 4.5 stars. Everyone was loving this type of mattress. And it was affordable. Because of these reasons, this is the mattress I went with.

If I order it, it will come.
Building a Bed in Grand Caravan: Step 3 – Ordered bedding to motivate me.
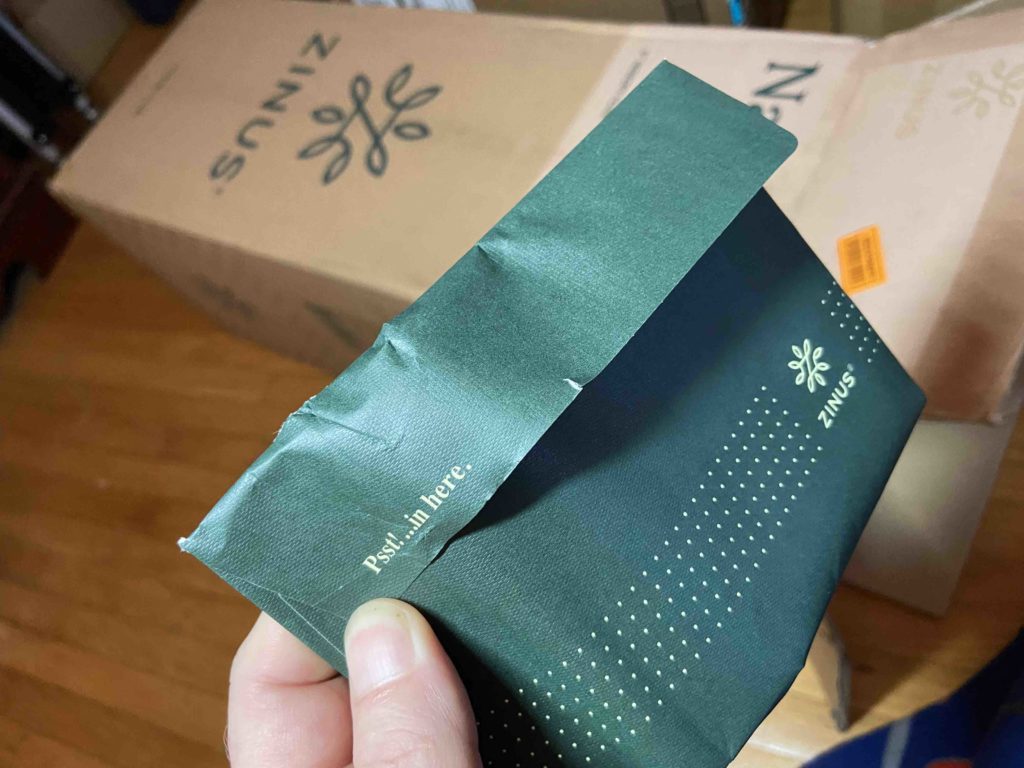
I ordered a complete bedding kit!
I received:
-the Zinus 6-inch, green tea-infused, memory foam mattress
-a mattress cover that is waterproof
–sheets set (which has two pillowcases, a fitted sheet, and a top sheet)


Step 4 – I used Sketchup to lay out my design.
If you are unfamiliar with SketchUp, I will leave a link to the signup page here.
They have a FREE, Personal Use version you can sign up for and Download.
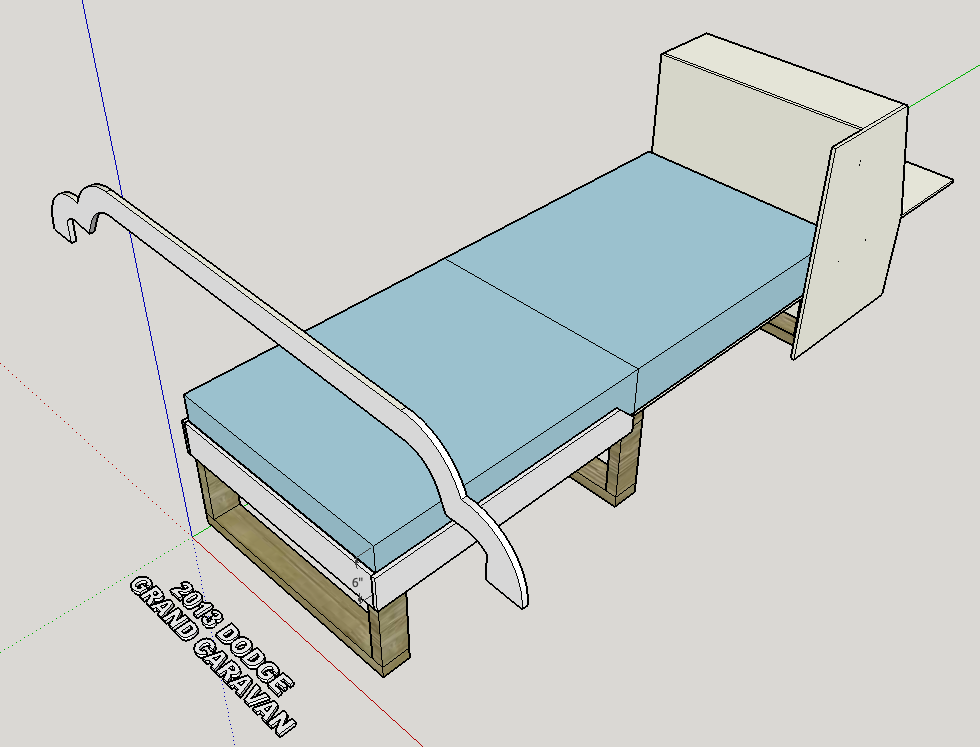
SketchUp is a 3D modeling software. Becoming familiar with keyboard shortcuts is super helpful.

Plus there are lots of tutorials that can teach you everything you need to know!
Step 5 – Began building bed platform supports.
With the 3D drawing on my phone & in hand and a quick trip to the wood store, I started building the three rectangle supports that will hold the bed and mattress.

I was using a milk crate as my guide. The first two supports were made at the height of the milk crate.
Next, I placed a long 2×4 with a level on top.

After I verified it was level, I measured from the end of the long 2×4, starting at the end next to the center console, out 75″ (the length of my mattress) to make a mark.
From this mark, I measured from the floor of the van up to the bottom of the 2×4 and this was my measurement for the shorter, rectangular support in the rear.
Step 6 – Purchased more lumber.

Step 7 – Cut plywood to size.
I cut the plywood into two pieces that measured 30 inches wide x 37.5 inches long.
Step 8 – Attached plywood to supports & added additional supports horizontally.

Van Build Step 9 – Attached a latch on each side.
This bed is in two sections with the idea that I could slide the front half onto the back half. I learned that the mattress I ordered was not able to be cut in half.
A custom, pre-cut bed mattress was expensive. Over $500!
Ultimately I didn’t feel like messing with cutting my own, custom mattress pieces.
These simple latches hold the two halves together.
Step 10 – Added trim around the foot of the bed.
This trim was made out of the same plywood and it serves two purposes:
The trim keeps the 6-inch mattress in place while I’m driving around.
Second, it gives it a finished look.

I pre-drilled pilot holes and used a counter-sink drill bit with 1 1/4-inch wood screws and wood glue.
Step 10a – Angled the corners of the trim.

Step 11 – Drilled ventilation holes in bed platform plywood with a hole saw.
I used a 1-inch hole saw and my goal was to get the holes approximately 12 inches apart horizontally and each row is 6 inches apart.
You’ll notice I added a grab handle in one half.
Step 12 – Painted with anti-mold paint/primer.
The ventilation holes could have been enough. I didn’t want to take any chances with my investment. I took Chrome’s advice over at VanCity Vanlife and gave the top and all the holes three coats of this Zinsser ultimate stain blocker.
Step 13 – Rough fit inside van.

Step 14 – Placed mattress on the bed platform

Final Steps to Grand-Caravan Glamping in Style
Other steps left to take:
Complete the kitchen cabinet that will help hold the mattress in place.

Storage solutions are super important to me and I want to make the best use of the space I have. My plan is to create a place for everything on my current list of gear.
Find Your People: Nomadic, Vanlife, and RV Meetups:


how did you secure supports for the bed?
The supports are attached to the plywood top via wood screws. The entire unit is not attached anywhere to the van itself. It’s a pressure fit meaning the other units hold the bed in place. The kitchen cabinet unit and the passenger seat prevent the bed from going forward or backward. The raised floor prevents the bed from moving side to side. Thanks for your question. Let me know if you have any other questions!